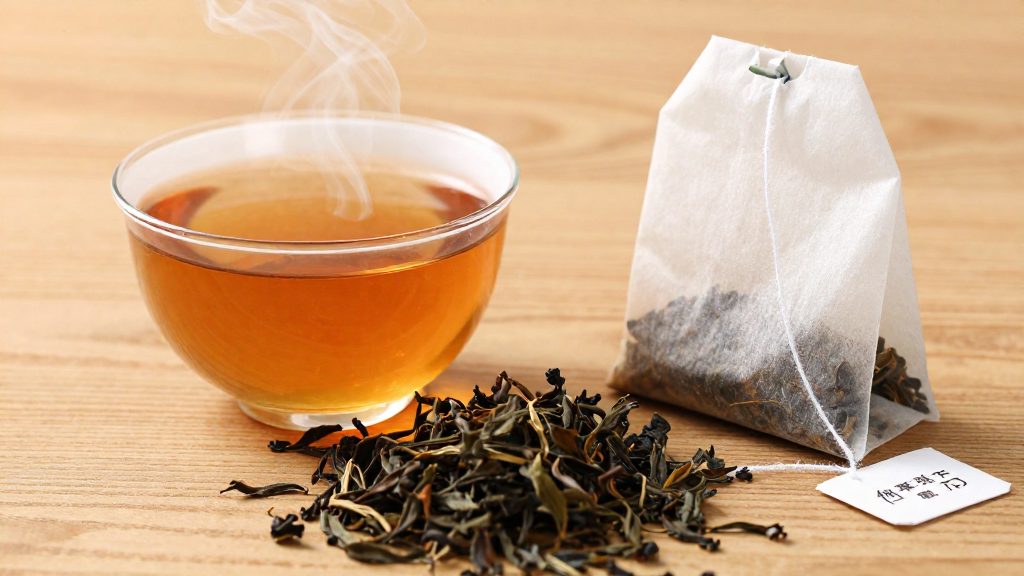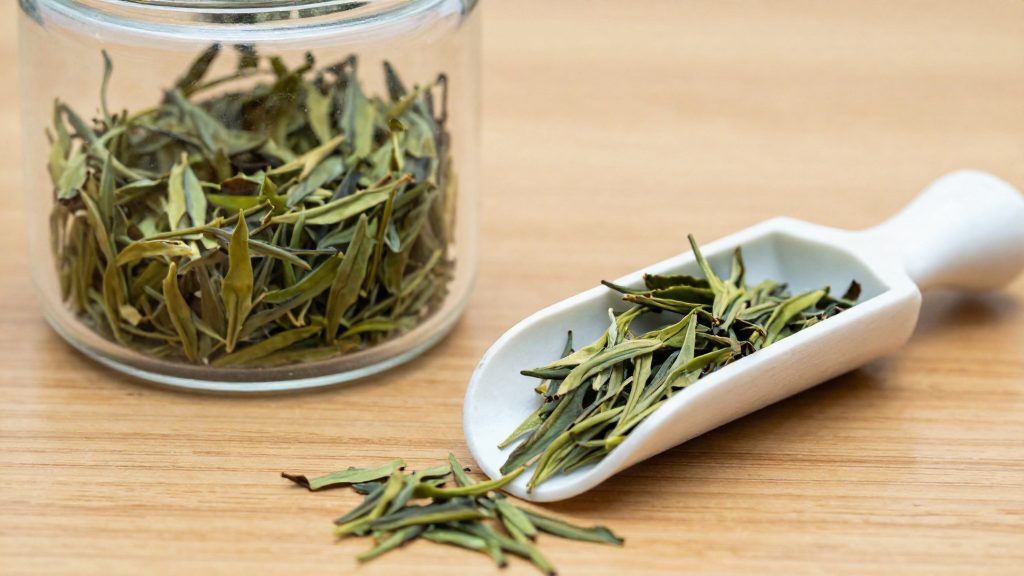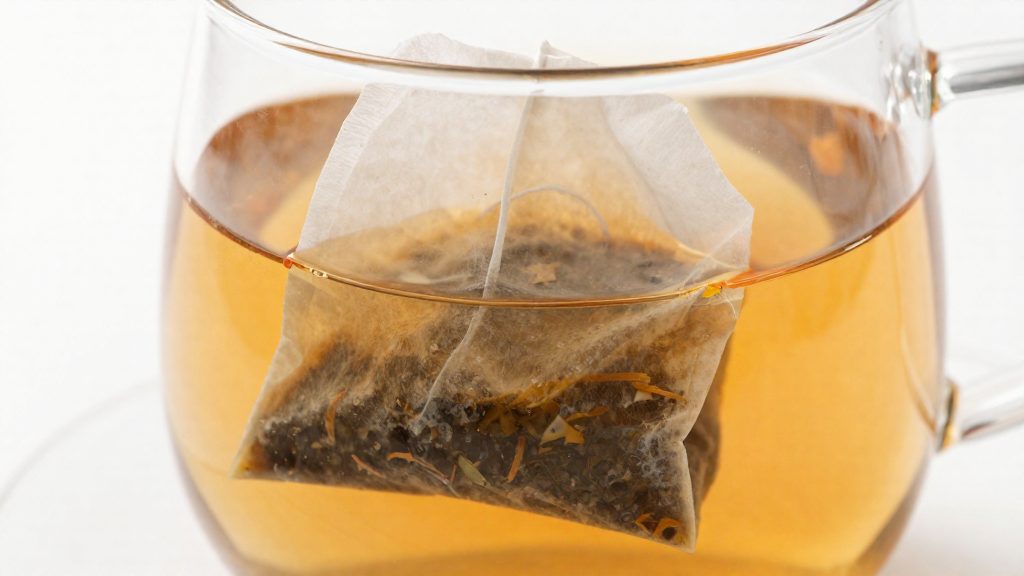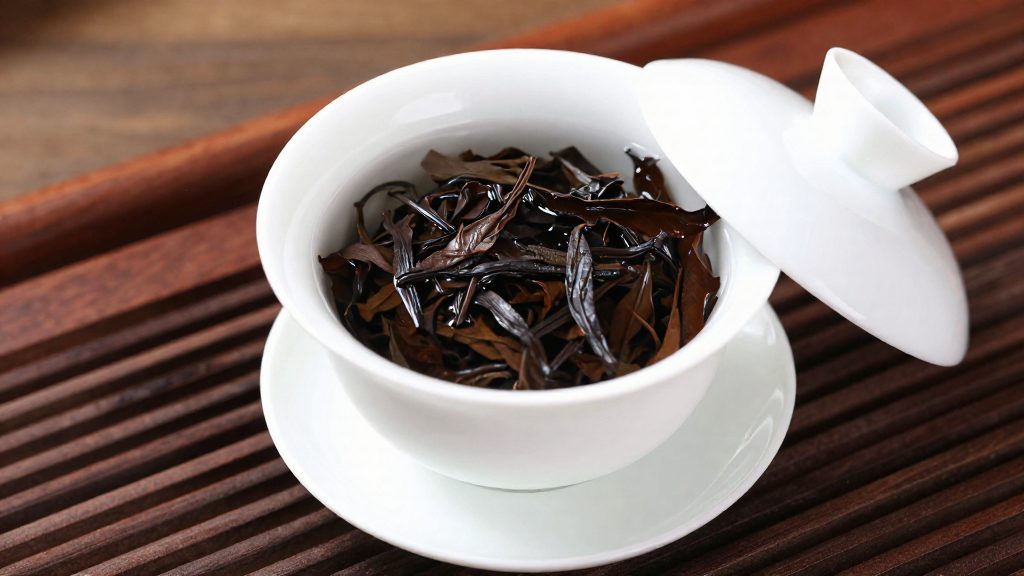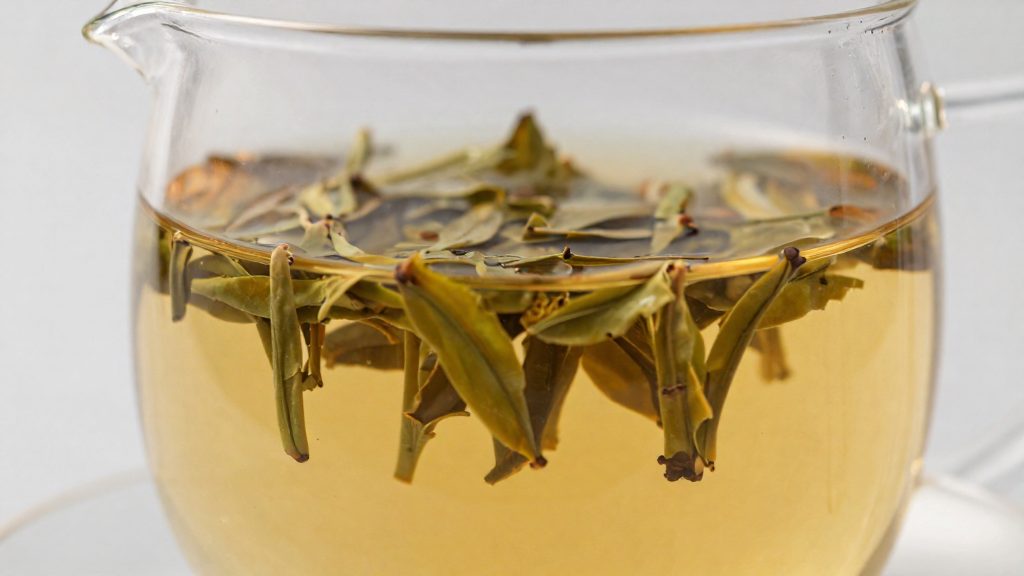
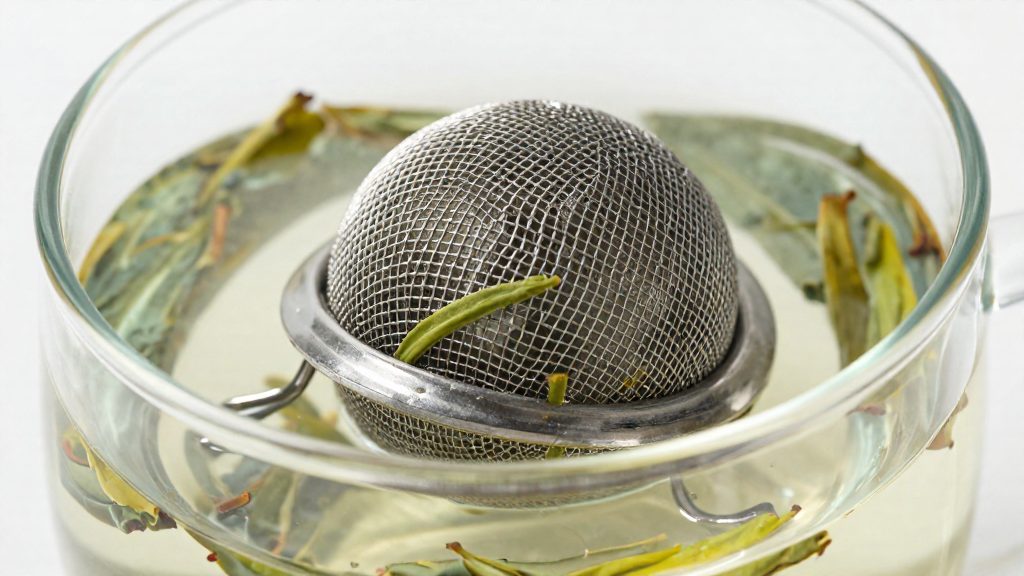
Loose-leaf tea needs room to open, and the infuser’s design determines whether it gets that room. Harney & Sons (2024-02-08) advises choosing an infuser with enough space for the leaves to expand, because small tea balls can restrict that expansion. Baskets, tea balls and mesh strainers differ in fit, interior capacity and whether they close with a lid, so the right choice depends on the vessel you brew in and the amount of leaf you use.
Which Tea Infuser Should You Use?
Infuser styles differ on two points that the sources address: leaf expansion room and lid heat retention. The table below lists only what the sources establish.
| Infuser style | Documented characteristic | Source |
|---|---|---|
| Small tea ball | Can restrict leaf expansion | Harney & Sons (2024-02-08) |
| OXO Tea Infuser Basket | Lid retains heat during brewing | OXO |
Leaf expansion room. Leaves swell as they absorb water, so the space they occupy during brewing matters. When comparing products, check the interior volume in the manufacturer’s listing and compare it with the amount of leaf you plan to use.
Lid heat retention. A lid keeps heat in the infuser while the leaves steep. According to OXO, the lid of its Tea Infuser Basket retains heat during brewing. Infusers without a lid lose more heat to the air, but the sources do not quantify that difference, so treat it as a qualitative effect.
Mesh strainers, tea balls and baskets: fit and capacity. Fit depends on the opening of your teapot or cup. An infuser basket holds leaves during steeping; a pour-through strainer catches leaves as brewed tea is poured into a cup. Check that the basket fits your brewing vessel or that the strainer sits securely over the receiving cup. The sources do not give capacity figures for any infuser type, so use the manufacturer’s stated dimensions to confirm whether the leaf volume fits.
How Much Loose Tea Per Cup?
Twinings North America suggests about 1 teaspoon of loose tea per 8 fluid ounces of water as a beginner’s starting ratio. Treat this as a starting point, not a fixed dose. The amount is adjusted for leaf density and personal taste, because a teaspoon of tightly rolled leaves holds more material than a teaspoon of light, fluffy leaves.
Adjusting Quantity for Taste
Brew the first cup at the starting ratio, then change one variable at a time:
- Weak cup: add a little more leaf next time and keep the water volume the same.
- Strong or harsh cup: use slightly less leaf next time.
- Dense leaves: check the result before adding more, since a level spoon already contains more material.
Teaspoon Versus Kitchen Scale
A teaspoon measures volume, so the same level spoon can weigh different amounts depending on leaf size and shape. A kitchen scale measures weight, which makes batches easier to repeat.
| Method | What it measures | Repeatability |
|---|---|---|
| Teaspoon | Volume | Varies with leaf size and density |
| Kitchen scale | Weight | Same weight gives the same dose |
No weight-based dose appears in the sources used here. Check the tea brand’s packaging or instructions for a weight recommendation before converting your teaspoon measure.
Choose Your Water Temperature
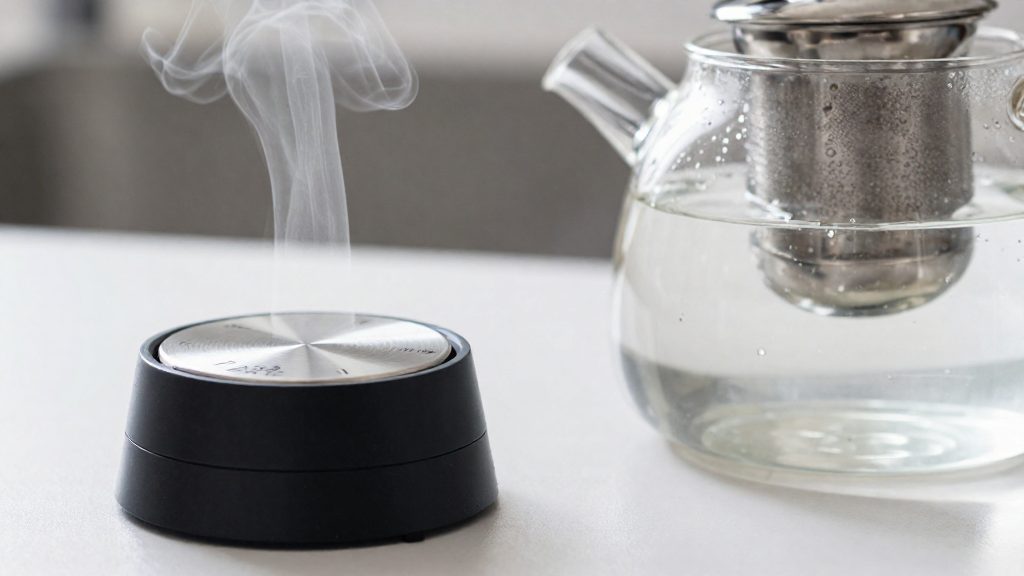
Set the heat level before the leaves touch any water. The right temperature depends on the type of tea, so the first step is to check the instructions for the specific tea you are brewing. Harney & Sons notes that water quality also affects the cup, so the water itself is part of this step.
Temperature Targets by Tea Type
Green, white, oolong and black teas do not share one brewing temperature. Each type has its own target, and producers publish those targets on their packaging and websites. Keep the water-temperature decision separate from the rest of the brew: leaf amount, steep time and saturation each have their own step.
Water Quality: Hard, Sulfurous and Chlorinated Water
Hard, sulfurous or chlorinated water can change the taste of tea. Harney & Sons recommends filtering water when needed (Harney & Sons). To judge whether your tap water needs treatment:
- Taste the water on its own. A chlorine, sulfur or mineral taste will carry into the cup.
- Filter when the taste is off. Use a filter jug or a filtered tap so the tea tastes of the leaf rather than the water.
- Compare results. Brew the same tea with tap and filtered water to see the difference.
Kettle Temperature Control
Use a kettle with a temperature setting when your tea type calls for a specific heat. If your kettle only boils, let the water sit off the boil until it reaches your target, and check it with a thermometer rather than estimating. Keep the kettle clean and descale it according to the manufacturer’s instructions, since mineral build-up affects both water taste and heating.
Fill and Place Your Infuser
Loading the infuser before it goes into the water keeps the leaves contained and lets them wet evenly from the start. With OXO’s twisting tea ball, the process is mechanical: open the chamber, load the leaves, close it, then submerge it. Each step prepares the leaves for the next one.
Loading an OXO twisting tea ball
According to OXO, the sequence for its twisting tea ball is:
- Twist the handle to open the ball.
- Scoop loose tea into the open chamber.
- Twist the handle to close the ball around the leaves.
- Immerse the closed ball in hot water.
Load the leaves while the ball is still open and dry, then close it before any water touches it. Closing it first keeps the leaves from spilling out during the next step.
Saturating the leaves
Twinings notes that pouring hot water over the leaves helps saturate them. Do this before or as you immerse the ball. Pour the water directly over the leaves inside the closed ball, so the dry leaves take up water across the whole chamber rather than only at the surface. Saturating first also means the leaves start releasing flavor at the same time, instead of some sitting dry while others steep.
Immersing in a cup or teapot
Once the leaves are wet, submerge the closed ball fully:
- In a cup: Lower the ball into the cup and keep it under the water for the full steep. Lift it out only when the steep is over.
- In a teapot: Place the loaded ball in the pot and pour the rest of the water over it. The ball should sit fully submerged, not resting on the lid or floating on the surface.
Keep the ball submerged for the whole steep. Partial immersion lets the leaves steep unevenly, with the top layer receiving less water than the rest.
Time the Steep and Remove
Steep time is the variable you control most directly once the leaves are in the infuser. Harney & Sons recommends following each tea’s own time and temperature instructions and using a timer. No single steep time fits every loose tea, so take the figure from the label or the manufacturer’s directions for the tea you are brewing.
Known steep times
| Tea (Twinings loose leaf) | Steep time | Source |
|---|---|---|
| English Breakfast | 3–5 minutes | Twinings North America |
| Earl Grey | 3–5 minutes | Twinings North America |
These figures apply only to Twinings’ loose English Breakfast and Earl Grey. Other teas may need shorter or longer steeps.
Start the timer and remove the leaves
Start the timer once hot water has saturated the leaves. When the recommended time ends, lift the infuser out of the cup or pot. Twinings notes that removing the leaves at that point prevents continued changes in strength and flavor.
Can You Reuse the Leaves?
Yes, loose leaves can be steeped more than once. Harney & Sons (2024-02-08) confirms this. There is no fixed number of repeat infusions that works for every tea, so judge each cup by taste and stop when the flavor is too thin for you.
Adjusting Time and Temperature for Later Infusions
Use the first steep’s settings as your baseline.
For each repeat, change one variable at a time:
- Time: If the second cup tastes weak, lengthen the steep. If it tastes harsh, shorten it.
- Temperature: Keep the tea’s recommended range. Do not lower it to compensate for a weak cup without checking the tea’s own instructions.
Holding Spent Leaves Between Infusions
Remove the leaves once the steeping time ends. Twinings North America advises this to prevent continued changes in strength and flavour, so do not leave the infuser sitting in the cup while you drink.
Clean Your Tea Infuser
Clean and dry the infuser after every session, and follow the manufacturer’s labeling for the material and for dishwasher use. The steps differ by model, so check the product label or the manufacturer’s instructions before choosing a method.
For the OXO Tea Infuser Basket, the routine is short:
| Step | What to do | Basis |
|---|---|---|
| 1. Remove the basket | Lift the basket out of the cup once the session is finished. | Standard handling for a basket infuser |
| 2. Rinse the mesh | Run water through the mesh to clear spent leaf fragments caught in the holes. | General practice |
| 3. Use the lid as a drip tray | Set the basket on the OXO lid so drips do not reach the counter. | According to OXO, the lid doubles as a drip tray after removal |
| 4. Clean the basket | Wash by hand, or place it in the dishwasher. | According to OXO, the Tea Infuser Basket is labeled dishwasher safe |
| 5. Dry before storing | Let the basket air dry fully before putting it away. | General practice |
Dishwasher labeling applies to this basket only. OXO’s label covers the Tea Infuser Basket. Do not assume the same is true for other infusers, including tea balls, mesh bags or other baskets. Check each product’s label before using a dishwasher.